 English
 CN
CN ES
ES 86-573-88890126
A flex banner rarely fails at the printer. It fails in the planning: a material chosen for the wrong lighting, artwork built without bleed, edges left as raw cuts, or a solid sheet hung where the wind can turn it into a sail. Preparing a flex banner is a sequence of decisions, and each one locks in cost, durability, and print quality long before the first square meter of PVC reaches the printing line. Reprints are among the most expensive failures in display printing, and nearly all of them trace back to a skipped step.
This guide follows the sequence a professional print service provider would use: understand the material, set up the artwork, design for reading distance, plan the finishing, and match the whole package to the environment where the banner will hang. Follow the stages in order, and the banner that comes off the machine should behave exactly as expected on the wall, the scaffold, or the lightbox.
The four stages covered below: Material selection Artwork setup Finishing and hardware Environment matching
Understand the Material Before You Design Anything
Every flex banner starts as a woven polyester scrim coated or laminated with PVC on one or both sides. Manufacturers build it in three main ways: hot or cold lamination of PVC films over the scrim, direct knife coating, or calendering. The construction method and the surface treatment decide how the material accepts ink, how it handles tension at the frame, and how long it survives outdoors. Confirm what the job actually needs before a single design file is opened.
Frontlit, Backlit, and Blockout Explained
Frontlit material is the industry default. Light strikes the printed face directly, so it suits billboards, building wraps, and event backdrops read in daylight or under front-mounted floodlights. Backlit material is translucent and diffuses light from behind, which makes it the correct choice for lightbox displays in airports, shopping malls, and retail fronts. Blockout material sandwiches a dark middle layer between two printable surfaces so light cannot pass through; it is the standard answer for double-sided street banners where show-through would ruin the reverse image. If the construction is still unclear, it helps to compare the main types of flex banner material before committing.
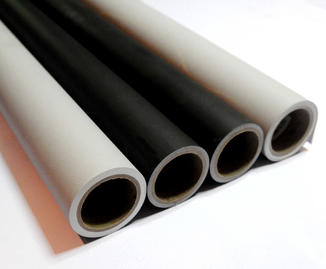
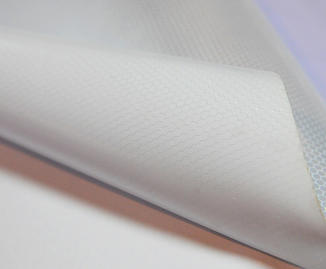
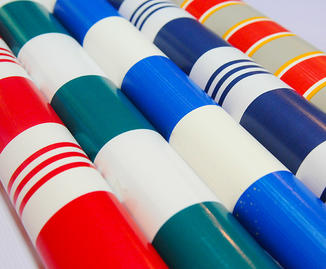
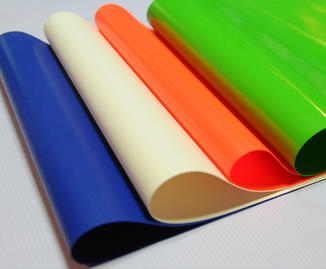
 Hot/Cold Laminated Frontlit & Backlit Flex BannerLaminated PVC flex banner compatible with UV, solvent, eco-solvent and screen printing, offering tear and fade resistance in matte or gloss finishes from 1.00m to 3.20m wide, suitable for billboards, displays and building murals.View Product →
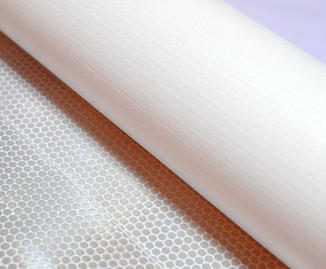
 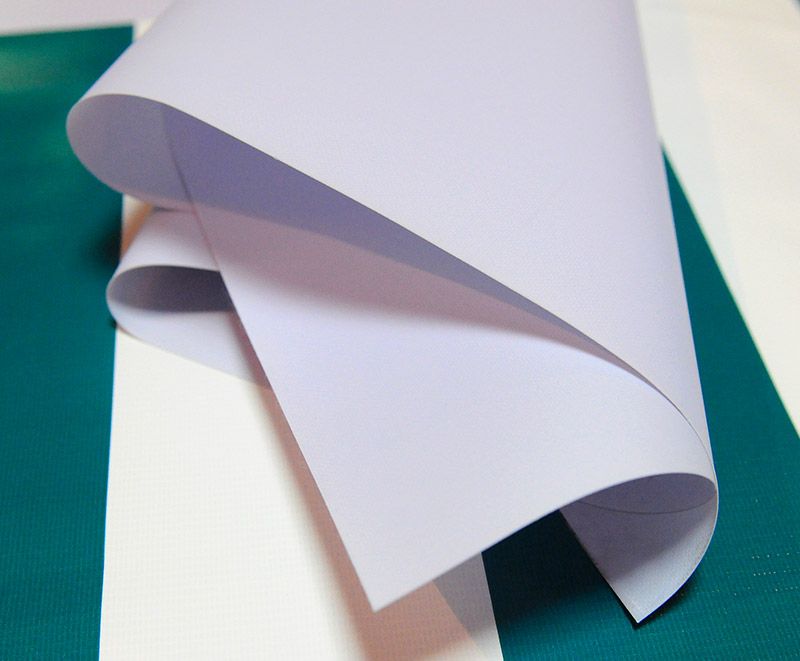 PVC Blockout Flex Banner Roll MaterialBlockout flex banner with a light-blocking construction prevents show-through on double-sided banners. Its fade resistance and durability make it a solid option for street banners and signage.View Product →
Weight, Thickness, and Surface Finish
Weight, expressed in grams per square meter or ounces per square yard, predicts most of the mechanical behavior. Lighter materials around 280 to 340 gsm suit short-term promotions, indoor displays, and anything tensioned gently. Mid-range 440 gsm covers most general outdoor work, while 510 gsm and above is reserved for long-term billboards and installs under high tension. Finish matters as much as weight: gloss maximizes color saturation at distance, and matte reduces glare under street lighting or beside glass facades.
| Material Type | Light Source | Typical Weight | Typical Outdoor Life | Common Applications |
|---|---|---|---|---|
| Frontlit | From the front | 340-510 gsm | 6-24 months | Billboards, hoardings, event backdrops |
| Backlit | From behind | 440-610 gsm | 12-24 months | Lightboxes, airport and mall panels |
| Blockout | Either side | 440-510 gsm | 6-18 months | Double-sided street and pole banners |
| Mesh | From the front | 270-370 gsm | 6-12 months | Fence wraps, scaffolding, windy facades |
Treat the table as a starting point rather than a law. A 440 gsm frontlit banner with welded, reinforced edges often outlasts a heavier banner with raw cut edges, because in practice failure begins at the edge or the eyelet, not in the middle of the sheet.
Set Up the Artwork File for Large-Format Printing
Large-format artwork is prepared differently from screen design. Files are usually built at reduced scale, most commonly 1:10, with resolution multiplied to compensate, so a 10 meter banner drawn at 10 percent of final size needs roughly 250 to 300 ppi to deliver an effective 25 to 30 ppi when printed at full size. Files built at actual size are also acceptable on modern RIP software. In that case, 25 to 40 ppi is enough for a billboard read from tens of meters away, while a banner viewed from two meters, such as a retail window display, benefits from 100 to 150 ppi.
The Setup Rules That Prevent Reprints
- Work in CMYK from the start and request the ICC profile for the exact printer, ink, and material combination.
- Convert all fonts to outlines or curves, and embed linked images so nothing goes missing at the RIP.
- Extend backgrounds 30 to 50 mm beyond the trim line on every side as bleed.
- Keep text and logos at least 100 mm inside the trim line so hems, welds, and grommets never crowd the message.
- Supply logos as vector artwork wherever possible; bitmap logos pixelate fastest across smooth color areas.
- Mark grommet and pocket positions on a separate non-printing layer instead of designing them into the artwork.
One detail deserves emphasis. Saturated RGB colors from a screen design usually print duller after CMYK conversion, and deep blues and oranges shift the most. Soft-proof the converted file before release rather than discovering the shift on a fifty square meter print.
Design for Distance, Not for the Screen
A flex banner is usually read while moving, at distance, in seconds. That reality changes every design instinct. The headline should deliver one idea in roughly seven words or fewer, supporting text should be cut without mercy, and every element should earn its place. If a viewer needs to squint, the design has already failed regardless of how clean the print looks.
Letter height is the main lever. A practical rule of thumb links comfortable reading distance to letter height at roughly 10 mm of letter height per meter of distance, with about half that size as the bare minimum for short, high-contrast messages.
| Typical Viewing Distance | Recommended Letter Height |
|---|---|
| Up to 10 m | 100 mm or more |
| 10-25 m | 250 mm or more |
| 25-50 m | 500 mm or more |
| Over 50 m | 750 mm and above |
Contrast carries the rest of the work. Dark letters on a light field and light letters on a dark field both perform; two mid-tone colors almost never do. Convert the draft to grayscale before sending it: if the message disappears without color, it will also disappear at forty meters in flat light. Thin outlines, script typefaces, and tight letter spacing are the three most common offenders on banners that looked sharp on a monitor.
Consider a real comparison. A banner above a shop entrance, read by pedestrians from 8 to 10 meters, needs letters around 100 mm tall. The same brand message on a roadside hoarding passed at 40 meters needs at least 400 mm. Same logo, same colors, four times the letter height. The site, not the template, dictates the file.
Plan Finishing and Hardware Before Printing
Finishing turns a printed sheet into an installable banner, and it must be specified before printing because it changes the layout. Welded hems, grommet rows, and pole pockets all consume space that otherwise belongs to the artwork. Deciding them after printing almost always means a reprint or a weakened edge.
Common Finishing Options
- Welded hems: a 20 to 30 mm fold sealed by high-frequency or hot-air welding, which roughly doubles edge strength compared with a raw cut edge.
- Grommets and eyelets: metal rings set through reinforced corners and along the edges, normally spaced every 500 to 1000 mm depending on wind exposure and mounting style.
- Pole pockets: sleeves 60 to 100 mm deep, welded or sewn at the top or bottom edge, used for banners mounted on poles at events and street corners.
- Keder and rope hems: a continuous edge profile that slides into frame systems, common on tensioned displays and large building wraps.
- Wind slits: small cuts that relieve pressure on solid banners in exposed sites, although open mesh is usually the stronger and cheaper answer.
A useful discipline is to write the finishing specification on the work order in the same breath as the size: 3000 by 1000 mm, 440 gsm frontlit, hemmed on four sides, grommets every 800 mm, print side outward. One line like that prevents most disputes between designer, printer, and installer, because every party is working from the same physical assumptions.
Match the Banner to Its Environment
Two forces destroy outdoor banners faster than everything else combined: wind and sunlight. A solid PVC sheet behaves like a sail. On an open scaffold or a coastal fence, wind load rips grommets out of even heavyweight material within weeks. Open-weave mesh banner material lets air pass straight through the surface, which is why professional installers specify it for fence wraps, scaffolding, and any facade with strong prevailing wind.
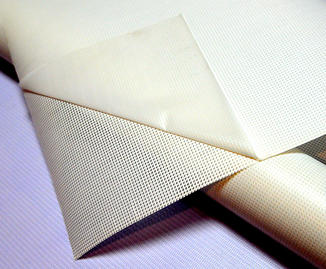
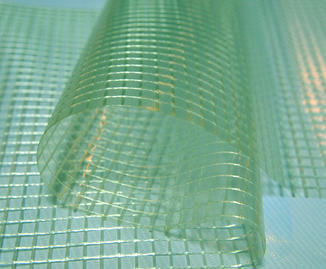
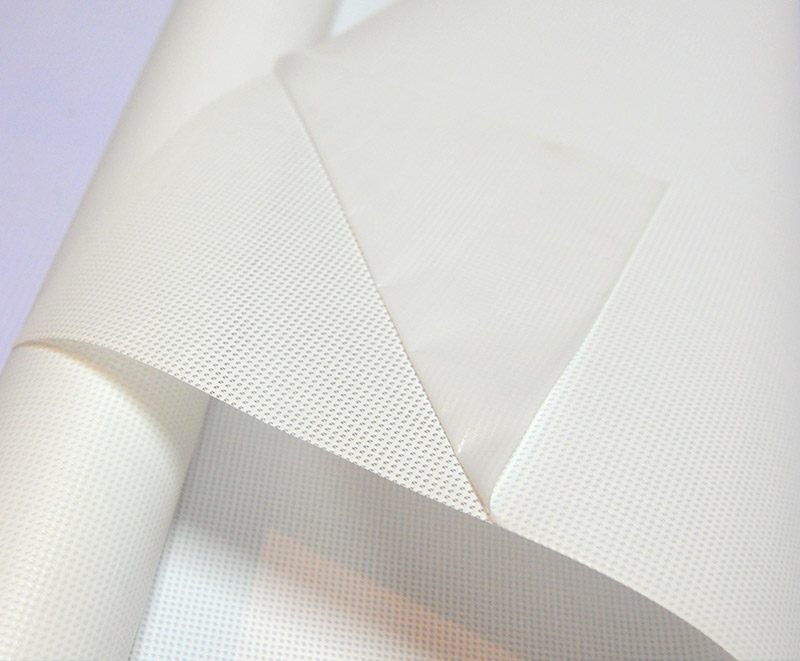 PVC Liner Mesh Banner Material RollOpen-weave mesh banner with PVC liner lets wind pass through the surface, reducing strain on grommets and frames. A practical, economical choice for fence wraps, scaffolding and windy outdoor facades.View Product →
Sunlight works more slowly but just as decisively. Ultraviolet exposure fades pigments and gradually embrittles PVC, and the process accelerates at altitude, in the tropics, and in desert climates. Ink chemistry matters as much as the fabric: solvent and UV-curable prints generally shrug off moisture and radiation better than water-based systems left unlaminated. For campaigns expected to run beyond a year, it is worth reading why UV resistance is crucial for outdoor flex banner material before the specification is fixed.
Climate details belong in the specification too. In regions with freezing winters, request cold-crack resistant formulations so the material does not stiffen and split when rolled or tensioned at low temperature. Under streetlights or near glass, matte finish keeps the message legible at night; in open daylight, gloss restores saturation and contrast.
Run the Checks Before and After Printing
The final stage of preparation is verification. A RIP will happily print a poor file, so responsibility for the checklist sits with whoever prepares the job, not with the machine.
Before the File Goes to the RIP
- Final size, orientation, and mounting method confirmed with the installer.
- Material type, weight, and finish agreed and written on the order.
- Bleed, safe zones, and grommet positions marked on their own layer.
- CMYK conversion completed and the soft proof approved by the client.
- Fonts outlined, images embedded, and effective resolution verified at final scale.
- Finishing specification complete: hems, grommet spacing, pockets, and keder where relevant.
After the Print Comes Off the Machine
- Allow solvent and eco-solvent prints to off-gas and cure fully, commonly 24 hours, before rolling or heat welding.
- Inspect the sheet under neutral light for banding, color drift, scratches, and uncured patches.
- Roll prints with the image facing outward and keep the roll loose; a tight roll in cold weather can crack the ink layer.
- Store banners flat or loosely rolled in a cool, dry place, away from direct sun, until installation day.
Most banner failures are preparation failures. The print itself was acceptable; the edges, the grommets, and the environment were simply never planned.
Preparation Mistakes That Cost Reprints
Most of these errors survive every internal review and only appear once the banner is already on the structure. They are cheap to avoid and expensive to discover.
- Designing from a screenshot of the site instead of measured mounting points, because the gap between two poles is rarely the round number in the brief.
- Sending RGB files and expecting screen colors, when deep blues and bright oranges are the first tones to shift in CMYK.
- Forgetting bleed, so a background that stops exactly at the trim line leaves white slivers the moment cutting tolerance moves.
- Placing text near the edges, where hems and grommets consume 30 to 50 mm and the phone number disappears first.
- Ordering solid banner for a wind-exposed fence and then adding wind slits as a fix, when mesh would have been stronger and cheaper.
- Rolling prints too tightly in winter, so the ink layer cracks along the curl before the banner is ever hung.
Frequently Asked Questions
Q1: What resolution should a flex banner file be?
Build the file at 1:10 scale with 250 to 300 ppi, or at full size with 25 to 40 ppi for distant billboards and 100 to 150 ppi for banners read up close. The right number always follows the viewing distance of the site.
Q2: Can a flex banner be printed on both sides?
Yes, with blockout construction. The dark inner layer blocks light, so each side can carry a different design without the reverse image showing through in sunlight or backlight.
Q3: How long does a printed flex banner last outdoors?
Quality frontlit banner printed with solvent or UV-curable ink typically lasts 6 to 24 months outdoors, depending on weight, ink system, and climate. Panels inside lightboxes often last longer because the printed face is shielded from direct weathering.
Q4: How do I stop a banner from tearing in strong wind?
Reduce the sail effect. Use mesh material on exposed fences and scaffolds, reinforce edges with welded hems, set grommets at closer intervals, and fix the banner with elastic ties that absorb movement instead of rigid ropes.
Q5: What is the difference between laminated and coated flex banner?
Laminated banner is produced by bonding PVC films to the scrim under heat and pressure, which suits economical, high-volume production. Coated banner applies liquid PVC directly onto the base fabric, giving stronger adhesion between layers and better durability on demanding, long-term installations.
Q6: When should finishing and hardware be decided?
During artwork preparation, before printing. Hems, grommets, and pockets consume artwork space and change the layout, so deciding them after printing almost always leads to reprints or weakened edges.