 English

Why Specs, Not Price, Decide How One Way Vision Film Performs
Content
- 1 Why Specs Matter More Than the Quoted Price
- 2 How One Way Vision Film Works
- 3 Where One Way Vision Is Used and What Each Application Demands
- 4 Five Specifications That Decide Real Performance
- 5 Common Sourcing Mistakes and How to Avoid Them
- 6 Printing and Finishing Considerations
- 7 What Shapes the Cost per Square Meter
- 8 A Practical Sourcing Workflow
- 9 Quality Checks Before and After Delivery
- 10 Making a Confident Choice for Your Next Order
- 11 Frequently Asked Questions
- 11.0.1 Q1: What affects the price of one way vision the most?
- 11.0.2 Q2: Can one way vision be printed on a standard large-format printer?
- 11.0.3 Q3: How can I check transparency before placing an order?
- 11.0.4 Q4: Does one way vision leave residue after removal?
- 11.0.5 Q5: How is one way vision different from regular self-adhesive vinyl?
Why Specs Matter More Than the Quoted Price
Buyers who search for one way vision usually want a window graphic that looks sharp from the street, lets people inside see outward, and stays bonded through sun, rain and daily handling. Those results depend on specifications that rarely appear in a short price list. Two rolls that look almost identical on a table can behave very differently after three months on a shop front.
This guide explains how the material is built, where it is used, which specifications matter most, and which checks protect a repeat order. It is written for advertising studios, wholesalers, importers and project buyers who need consistent output from batch to batch.
A practical rule: compare the specification sheet first, then compare price per square meter only between materials of the same grade.
How One Way Vision Film Works
At its core, a perforated one way vision film is a single PVC sheet with thousands of tiny holes spread evenly across its surface. The outer face carries the printed graphic, while a dark adhesive layer on the back absorbs light that would otherwise pass through the holes. The result looks like a solid image from the bright side and allows a view outward from the darker side.
The effect depends on lighting balance. During the day the outdoor side is usually brighter than the interior, so the graphic dominates and the holes are hard to notice. At night the balance reverses. A lit interior can make the graphic look faint and reduce the view outward. Designers therefore plan artwork with light levels in mind, using stronger contrast on storefronts that are dark after closing.
Each layer influences a different property. Film thickness shapes durability and impact resistance. The adhesive determines bond strength and removal behavior. The release liner protects the adhesive until installation and affects how the sheet feeds through printers and die cutters.
Where One Way Vision Is Used and What Each Application Demands
Many shops describe this material family as a perforated window film when they explain the product to clients. The term covers several uses, and each use places different demands on the material. A film that works well on a flat storefront may not suit a curved vehicle panel.
| Application | Main demand | What to verify |
|---|---|---|
| Storefront windows | Vivid color and clear outward view | Ink compatibility and transparency |
| Vehicle graphics | Conformability on curves | Tensile strength and liner stiffness |
| Office and building glass | Long service life | Adhesive stability and clean removal |
| Events and temporary displays | Fast installation | Roll width and consistent supply |
For storefronts, buyers often prioritize print sharpness and the balance between graphic coverage and visibility. For vehicles, the film must stretch around corners without lifting, so stiffness and elongation matter more. For long-term building installations, adhesive behavior over several seasons becomes the deciding factor.
Five Specifications That Decide Real Performance
Specification sheets can look similar at first glance. The table below summarizes the ranges commonly discussed in the trade and the practical effect of each one.
| Specification | Typical range | Practical effect |
|---|---|---|
| Film thickness | About 80 to 150 microns | Tear resistance and surface durability |
| Liner weight | About 70 to 120 grams per square meter | Wrinkle control and feeding reliability |
| Open area | About 30 to 50 percent | Balance between outward view and print density |
| Roll width | 1.27 m and 1.52 m are common | Fewer seams on large panels |
| Stretch behavior | Varies by grade | Installation on curves and corners |
Film Thickness
Thicker film generally resists tearing and surface damage better, yet it also reduces flexibility on curved vehicle panels. For wraps, a thinner but dimensionally stable film often performs better. For flat storefronts, a moderate thickness usually offers a sound balance between durability and handling.
Liner Weight
The release liner carries the adhesive through printing, cutting and transport. A heavier liner resists curling and helps keep large panels flat. Very light liners can stretch or tear during handling, which causes misalignment and waste on expensive print runs.
Transparency Ratio
Transparency depends on the open area of the perforation and on how much graphic coverage the design needs. A higher open area improves the outward view but can make colors look weaker. Ask for samples printed with your own ink and viewed at the distance your customers will stand, because the perceived result depends on both print density and hole pattern.
Ink Absorption and Surface Brightness
The printable surface must accept ink evenly. Poor absorption leads to banding, dull colors and slow drying. For graphics that include white areas, a bright and consistent base helps colors stand out in daylight.
Tensile Strength and Dimensional Stability
Installers stretch film around corners and over rounded glass. Good tensile strength keeps the graphic aligned across long panels and reduces the chance of tearing during installation or removal. Dimensional stability also prevents shrinkage that can open gaps at panel edges.
Roll Width and Minimum Order
Wider rolls reduce seams and speed up installation on large facades. Confirm the minimum order quantity early, because it affects how you divide stock among projects and whether leftover material can be used on future jobs.
Common Sourcing Mistakes and How to Avoid Them
Most problems with perforated material trace back to a few predictable decisions made early in the buying process. Reviewing these points before placing an order can prevent costly reprints.
- Comparing only price per square meter without matching film thickness and liner weight.
- Ignoring hole consistency, since uneven perforation creates visible patches and uneven print density.
- Skipping a test print with the same ink and printer used in production.
- Overlooking liner stiffness, which can cause wrinkles or curling on large panels.
- Forgetting outdoor requirements such as lamination and UV-resistant inks for long display periods.
A simple habit helps: write the full specification in one document and send it to every supplier. When each quotation starts from the same assumptions, differences in price and quality become much easier to read.
Printing and Finishing Considerations
Printing is where many good materials succeed or fail. Solvent, eco-solvent and UV inks each behave differently on perforated surfaces. Solvent-based systems often produce strong color on this type of film, while UV systems dry quickly but require careful adjustment of density to avoid blocking the holes.
Print density should be tuned so the image reads clearly from the intended side without closing the view from inside. Run a small test panel, check it under both daylight and interior lighting, and record the settings that work. Allow adequate drying time before cutting or laminating, because trapped solvent can cause blistering later.
For outdoor use, a protective laminate adds scratch resistance and improves UV stability. Installation conditions matter as well. Many adhesives perform best when applied above roughly 10 degrees Celsius on a clean, dry surface, and they need time to bond before exposure to heavy rain or wind.
What Shapes the Cost per Square Meter
Price differences between offers usually come from a small set of factors rather than from a single line item. Understanding them helps you judge whether a quotation is competitive or simply based on a weaker specification.
- Film grade and thickness, which affect durability and handling.
- Liner weight, which influences stiffness and feeding reliability.
- Perforation design, including hole size and open area.
- Roll width and total order volume.
- Packaging, freight and any custom finishing or adhesive requirements.
If you are preparing a comparison for a one way vision vinyl sticker purchase, send every supplier the same specification sheet so the quotes can be read on equal terms. Quotes built on different assumptions can look far apart even when the materials are similar.
A Practical Sourcing Workflow
A structured process keeps the buying decision on track. The four stages below move from requirements to a confirmed production run, and each one reduces the risk of a mismatch between expectation and delivered material.
The workflow works best when the test print is treated as a formal approval step. Once the sample performs well under real lighting and with the production ink, the same settings can be written into the purchase agreement for future repeat orders.
Quality Checks Before and After Delivery
Quality control should begin before the material leaves the supplier and continue after it reaches your site. The checklist below covers the points that most often cause disputes.
- Confirm thickness, liner weight and roll width against the agreed specification.
- Inspect a sample roll for hole uniformity and any damaged or missing perforations.
- Check that the liner releases cleanly and does not tear when peeled.
- Record batch numbers so repeat orders can be matched to approved samples.
- Store rolls flat, dry and away from direct sun before printing.
After installation, inspect the first panels within the first week. Look for edge lifting, bubbles or fading, and keep notes on the conditions. This record makes it easier to identify whether an issue came from the material, the printer settings or the installation environment.
Making a Confident Choice for Your Next Order
Choosing a one way vision material is less about finding the lowest number on a quotation and more about matching the material to the job. Thickness, liner weight, transparency, ink compatibility and tensile behavior determine whether a graphic looks professional for its full service life.
Start with a clear specification, request printed samples under real viewing conditions, and compare quotations on the same basis. Those steps reduce reprints, protect your reputation with clients and make future orders easier to repeat.
Frequently Asked Questions
Q1: What affects the price of one way vision the most?
Film thickness, liner weight, perforation design, roll width and order volume are the main drivers. Freight and special finishes also influence the final figure. A complete specification allows suppliers to give a precise quotation.
Q2: Can one way vision be printed on a standard large-format printer?
Many large-format printers can handle it, but settings matter. Use the ink type recommended for the material, run a test print and allow proper drying time. Adjust density so the image stays visible from the intended side without blocking the view outward.
Q3: How can I check transparency before placing an order?
Request a sample printed with your own ink and view it from both sides at the distance customers will stand. Check under typical indoor and outdoor lighting. Printed samples give more reliable insight than datasheet numbers alone.
Q4: Does one way vision leave residue after removal?
Residue depends on adhesive quality, surface type, exposure time and temperature. Test removal on a small area of the actual glass or vehicle surface after the intended display period. Check for marks before committing to a full installation.
Q5: How is one way vision different from regular self-adhesive vinyl?
Regular self-adhesive vinyl is usually solid and fully opaque. Perforated material contains many small holes, so it balances graphic display with outward visibility. Its construction and adhesive are designed for that dual purpose.
-
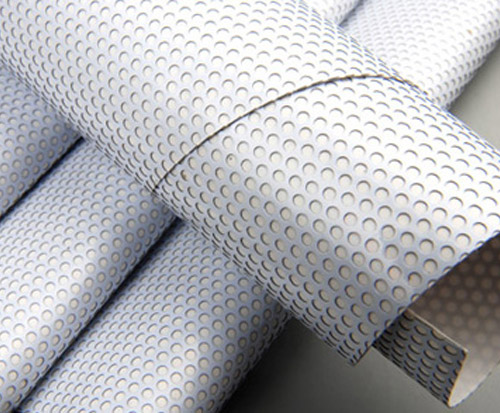 One Way Vision Vinyl Film Sticker
-
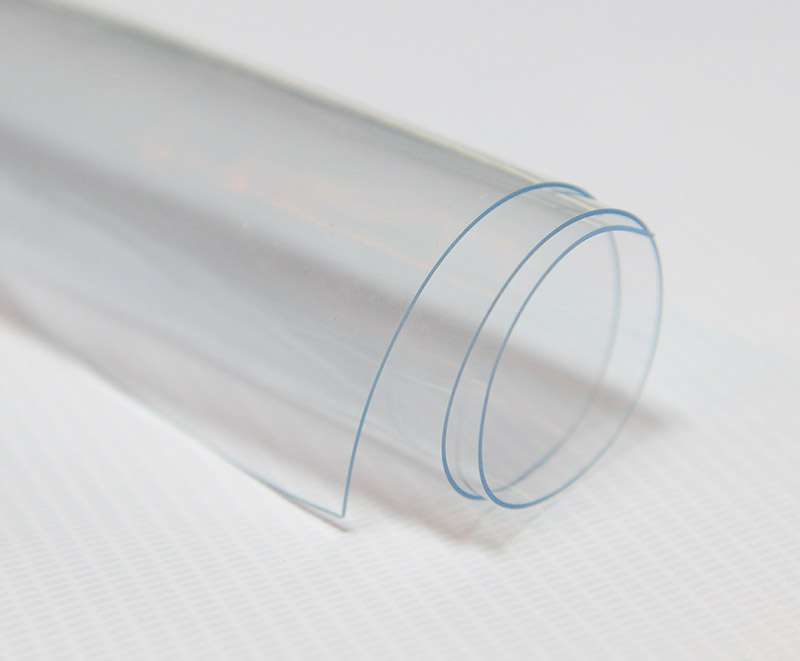 Rigid PVC Super Clear Stretch Film
-
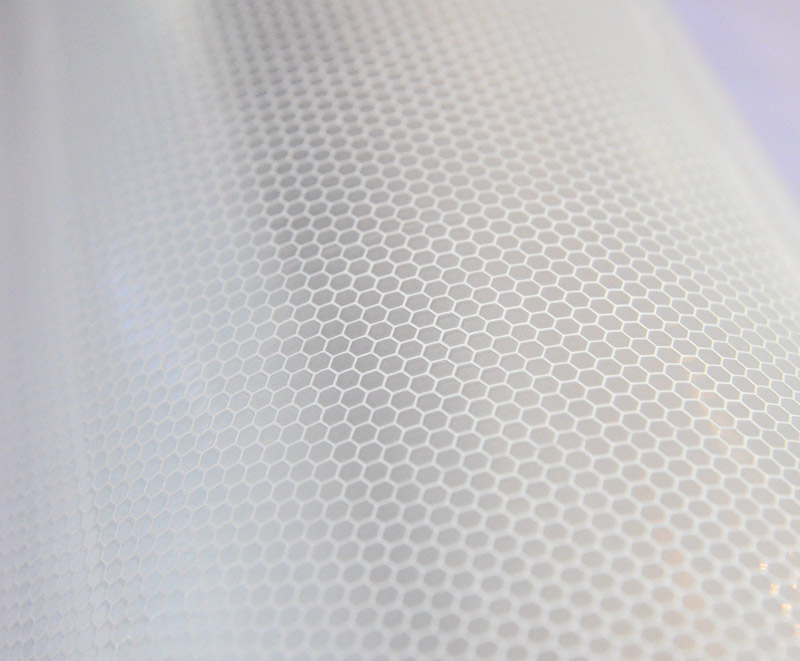 White Reflective Honeycomb Vinyl Sticker Materials
 +86-573-88890126
 adam@ml-holding.cn
 No. 28, Shuguang Road, Tudian Town, Tongxiang City, Zhejiang Province, 314503, China
Copyright © Zhejiang Minglong New Material Technology Co., Ltd. All rights reserved.
Custom Digital Printing Banner Material Manufacturers
